Markers
Standard Markers
In OtO, markers are like small bookmarks that allow you to quickly navigate through all your documents.
Creating a Marker
To create a marker, you first need to select some text (usually a word, between 2 and 30 characters) in one of the two editors; then either click the create/delete marker button in the toolbar 1 , or use the CTRL+M or CMD+M shortcut. The marker will appear as text surrounded by a border, accompanied by its "description" in a small box at the bottom left of the marker, like this:
NORMAL MARKER
By default, this description will take the value of the marker text itself. The marker will then be listed in the marker panel, which displays a list of all the markers from all documents, in the order they appear in the texts. If you don't see the marker panel, make sure it is enabled by clicking the button .
Renaming the Marker Description
Let's say you want to turn the word "hello" in a text into a marker. By default, the description will also be "hello," but if you want to remember why you placed a marker at this spot (to identify a scene shift, a speaker change, etc.), you can change the description content by clicking on the description label, as shown in the illustration below:
 The marker will then appear as follows:
HELLO
Selecting a marker
To select a marker (to toggle it's type for instance), you may either double-click on its text content in one of the two editors 2 / 4 , or double-click on the target Icon next to the marker name in the marker list 5
Changing the Marker Type
There are three types of markers:
Standard
Presenter
Action
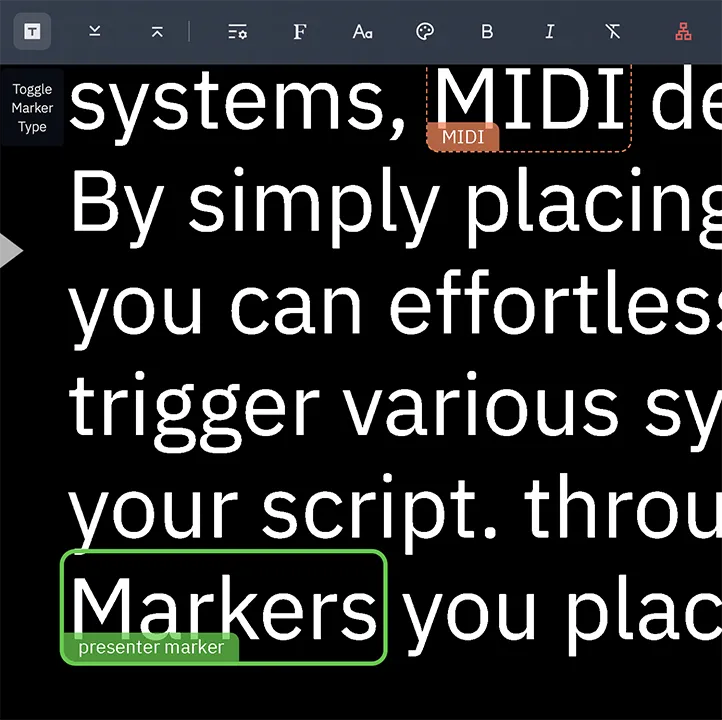
Standard and presenter markers serve the same bookmarking purpose, just with different colors to help you see things more clearly. Additionally, presenter markers can be configured not to appear on the external prompter screen (to help you as the operator, without disrupting the speaker’s readability).
As for ActionMarkers, they are a powerful OtO feature explained in more detail here.
You can change the marker type (toggle between Standard / Presenter. Action Markers require a specfic syntax by first selecting it with a double-click in either editor, then clicking the button  Finally, you can configure which marker types should appear on the prompter screen by going to
 ⚙ Settings -> Markers and timers then, select "Show markers on external display"
Navigating Between Markers
To jump directly to any marker, click the in the marker panel 5 .
- BE CAREFUL! In Prompting mode 1b , only the the Prompting Editor 2 will scroll to the desired marker
- In Editing Mode however, A click on will scroll the editor area (either 2 or 4 ) will scroll to that marker. This allows you, to keeping the Prompter Editor display 4 in place to avoid distracting the speaker.
To find the same text across editors, select one or more words and click the button Jump 7
To move to the next or previous marker, you can either:
Click the buttons or
Use the shortcut on your physical controller (you can change the assignments in
⚙ Settings->Controllersthen bind the input for the "Next" and "Previous" markers)The default keyboard shortcuts are
CTRL+PAGEDOWNandCTRL+PAGEUPLast but not least, when navigating between markers, you can choose either to scroll the text so that the marker lands at the bottom of the screen—giving you, for example, time to anticipate upcoming Action Markers—or to scroll the text so that the marker aligns precisely with the cue indicator ▶. If desired, you can add an offset of +/- 150 pixels to fine-tune this positioning. Go to
⚙ Settings→Markers and Timers→Scroll Offset ▶ cue indicatorto enable or disable this behavior and set the aforementioned offset.

- This
Scroll Offset ▶ cue indicatorwhich controls the offset (in pixels) when navigating between markers setting for should not be confused with⚙ Settings→Markers and Timers→Action Marker Vertical Offset in Pixels, which sets the default offset for triggering Action Markers
Deleting a Marker
You can either double-click the button (we don't want you to accidentally delete a marker with a single click!) Or select the marker text in one of the two editors and click the button . Finally, deleting the text containing the marker will, of course, also delete the marker."